Welcome, Guest
Username: Password: Remember me

TOPIC: Here We Go Again!

Here We Go Again! 26 Sep 2016 11:08 #18632

  • Serge C
  • Serge C's Avatar
  • Online
  • Administrator
  • I Wanna Be Sedated
  • Posts: 3060
  • Thank you received: 169
I then set to cleaning and polishing up the triple clamps.  looks like they had been previously painted (from factory?), so I bead-blasted them and gave them a buff.


The fork tubes were next and unfortunately they had some pretty deep gouges which I wasn't to keen to try and go too deep to repair, so I'll chalk this up to 'patina'.


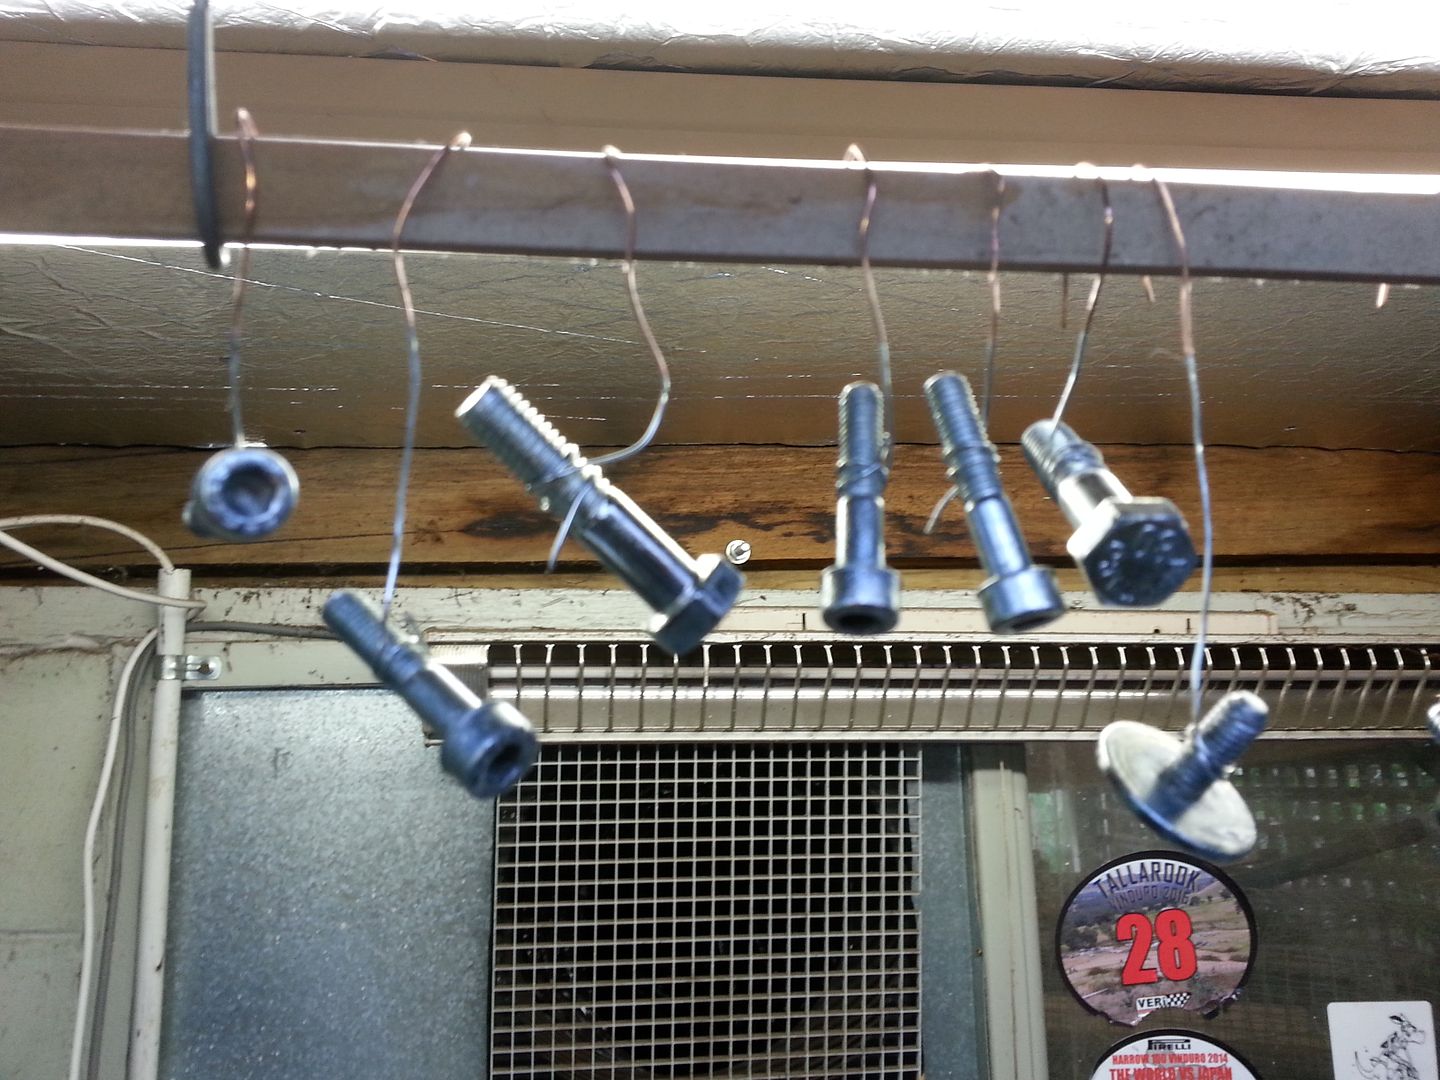
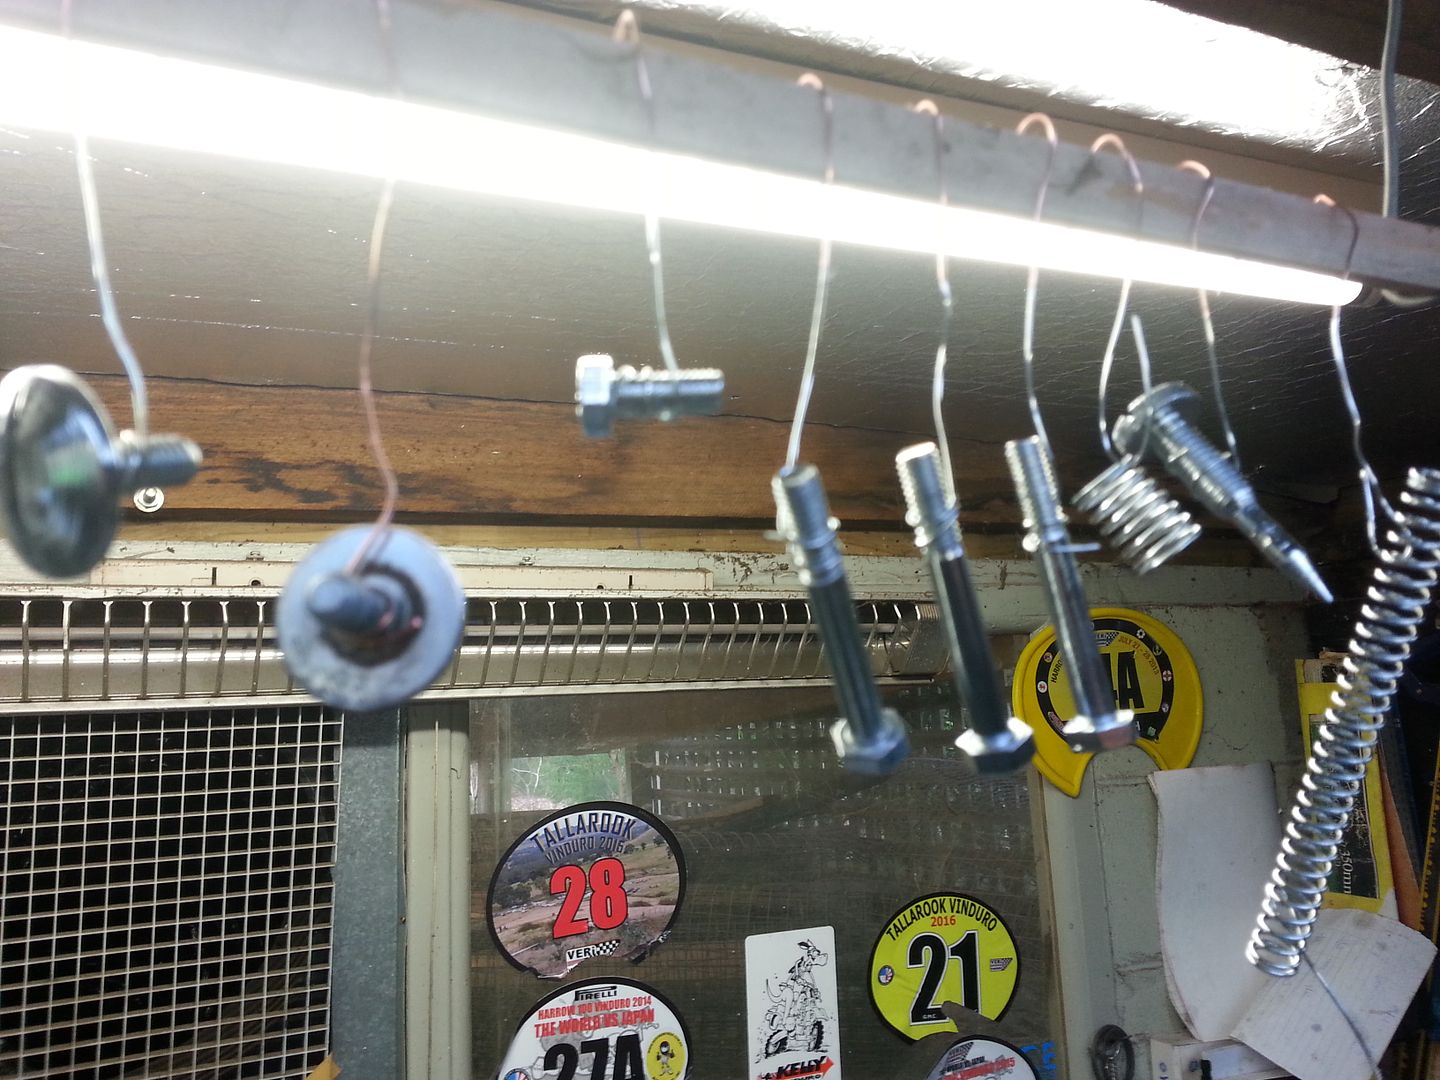
The forks themselves were treated to fresh oil and seals (by Paul at Ridewell), and I started to zinc plate the pinch bolts for the wheel axle and lower triple.


"That's what I do, I drink and I know things!" - Tyrion Lannister
Last Edit: 02 Jul 2017 11:06 by Serge C.
The administrator has disabled public write access.

Here We Go Again! 26 Sep 2016 11:16 #18633

  • Serge C
  • Serge C's Avatar
  • Online
  • Administrator
  • I Wanna Be Sedated
  • Posts: 3060
  • Thank you received: 169
The rear shocks became a bit of a disaster!  The bike was fitted with Boge-Mullholand shocks, but they proved to be not worth re-building as the magnesium top-caps crumbled when removed, exposing a crack through the thread in the shock body.  paul spent a fair bit of time mucking around with this, until he suggested giving up and built me a set of Konis out of NOS parts.  I agreed, and now I have a set of fully adjustable,  re-buildable Konis!

So, I spent the last weekend putting all this together and I'm pretty happy with the result so far.


So, STAGE ONE of the build (sprung frame) is basically complete.  Next stage is/are the wheels, which are underway!
"That's what I do, I drink and I know things!" - Tyrion Lannister
Last Edit: 02 Jul 2017 11:13 by Serge C.
The administrator has disabled public write access.

Here We Go Again! 26 Sep 2016 13:02 #18635

  • DarrenD
  • DarrenD's Avatar
  • Offline
  • Expert Boarder
  • Posts: 86
  • Thank you received: 6
Great work Serge.

Only problem is you have put the brake pedal back on the wrong side!!
The administrator has disabled public write access.

Here We Go Again! 26 Sep 2016 19:48 #18638

  • GRAYDON D
  • GRAYDON D's Avatar
  • Offline
  • Gold Boarder
  • Posts: 251
  • Thank you received: 17
Looks great Serge
Just wait for me at the next corner !!!!
The administrator has disabled public write access.

Here We Go Again! 26 Sep 2016 21:40 #18639

  • Ken R
  • Ken R's Avatar
  • Offline
  • Platinum Boarder
  • RETIRED?
  • Posts: 2961
  • Thank you received: 137
Nice job Serge, don't point any rockets at it :shock:
It's just more time to be flat out!
The administrator has disabled public write access.

Here We Go Again! 30 Oct 2016 13:25 #18930

  • Serge C
  • Serge C's Avatar
  • Online
  • Administrator
  • I Wanna Be Sedated
  • Posts: 3060
  • Thank you received: 169
ROLLING (and Stopping)!

A major point in any resto (I believe), is getting the bike to a rolling state, and I got there today!


But I'll take a step back.

I suspected that the wheels on this bike would come up looking alright.  The hubs looked good (inside and out), the spokes are all stainess and the rims (although grubby and scratched), had potential.  I started with the front wheel and pulled it down.  There were 3 rouge spokes laced in (that would have to be replaced) and I snapped another two when removing them, so that was a total of 5.  Fortunately, they are still available to purchase individually, so no problems there.  The nipples were all munted during removal, so I was up for a full set of them.

With all the bits separated, I polished and painted the front hub (which came up a treat).  I buffed up all the spokes and they came up looking better than the NOS replacement ones.  I polished the rim and although it looked good, I knew it could look better, so I gave it to Dave at Mid Metal Polishing and he finished it off.

I took the whole shooting match around to Phil ant Lightfoot and he put it together, including knocking out a few flat spots in the rim.  I was very happy with the result.


I zinc plated and/or polished all the spacers, nuts, levers, brake cam, brake plate etc. fitted a new tyre, complete with new rim-lock and rim-tape and tube, then bolted it onto the bike for a finished product!


Before and after.

"That's what I do, I drink and I know things!" - Tyrion Lannister
Last Edit: 02 Jul 2017 11:22 by Serge C.
The administrator has disabled public write access.

Here We Go Again! 30 Oct 2016 13:42 #18931

  • Serge C
  • Serge C's Avatar
  • Online
  • Administrator
  • I Wanna Be Sedated
  • Posts: 3060
  • Thank you received: 169
Next on the agenda was the rear wheel.

I followed the same process as before and pulled the wheel down.  This time, I snapped 3 spokes but all the nipples came off well.  Hub was painted and polished, spokes were buffed and I just gave the rim straight to Dave (no point wasting time!).  There was a nasty 'chunk' taken out of the rim, which Dave managed to smooth out and make it almost invisible.

Berore


After


This time, I gave the bits to Paul at Ridewell Motorcycles to assemble.  And along with new rim-locks, tubes, tape and tyre he gave me back the wheel, which looked grouse!  

Once again, I plated everything that needed plating, polished everything that needed poishing, dropped in some new bearings, bolted on a new sprocket, hooked up the brake bits and took the bike off the static stand.


"That's what I do, I drink and I know things!" - Tyrion Lannister
Last Edit: 02 Jul 2017 11:32 by Serge C.
The administrator has disabled public write access.

Here We Go Again! 30 Oct 2016 14:09 #18932

  • Serge C
  • Serge C's Avatar
  • Online
  • Administrator
  • I Wanna Be Sedated
  • Posts: 3060
  • Thank you received: 169
The Changing of the Guard

The guards on these bikes should be a beautiful, polished aluminium and although they're are available ('NOS') out of Spain and England', I haven't worked out which one of my daughters I'm gonna sell to buy a set of them!  Consequently, I'm fitting a set of Gonelli plastic guards (apparently standard equiptment on later model Sherpas?)  It was always my intention for this bike to be a 'rider', so having the cheaper set of guards eliminates the fear of stuffing a good set.  having said that, I fully intend to obtain some ally guards for when I just want the bike to look pretty.  If anyone can give me a lead as to where to get these locally (Aus), I'd be happy to know.

The bike had some Gerry-built front guard stays when I got it, so I had to get a set of 'NOS' ones out of spain, which seemed to take forever to arrive.  They bolted straight on all I needed to do was position the guard and drill 4 holes to mount it.  I don't like the look of the all-in-one guard and flap, but for around $50.00 who's quibbling!


The rear guard is a bit more of an issue.  The Gonelli units are very short and the Sherpa only has 3 mounting points (2 at the rear hoop and one down by the swing-arm.  If the guard is fitted using the lower mount, then the guard just protrudes past the rear frame hoop and looks silly.  If it's fitted just using the 2 rear mounts, then it has no stability and will just flap around.  It was suggested to make an extra mounting bracket and bolt it between this and the rear mounts, which is what I chose to do.

Using a lenghth of 20mm aluminium flat, I bent a curve and bolted it between the side panel mounts.  Then I could simply drill 2 new holes and have the guard mounted at 4 points and have enough guard hanging out the back to vaugley replicate the profile of the original guard. Only problem with this is that the area between the end of the guard and the swing arm is exposed to the perils of riding.  To 'bridge-the-gap', I fashioned a piece of an old Preston Petty guard I had, to create an extension.  The Gonelli guard is now sandwiched between the extension and the new mounting bracket, and then it's bolted to the lower mounting point too.  The whole shooting match can be removed as one unit, by simply undoing the original 3 mounting bolts and the 2 side cover screws, leaving the new bracket, extension and guard bolted together!  Fortunately, the side cover hides my atrocious attempts at engineering and fabrication!


The end result (I think) is a servicable guard that closely resembles the 'style'of the original.  And as I said before, if I drop it and stuff the guard, it's an inexpensive fix!

So now, the motor gets up onto the bench....
"That's what I do, I drink and I know things!" - Tyrion Lannister
Last Edit: 02 Jul 2017 11:39 by Serge C.
The administrator has disabled public write access.

Here We Go Again! 30 Oct 2016 19:30 #18933

  • GRAYDON D
  • GRAYDON D's Avatar
  • Offline
  • Gold Boarder
  • Posts: 251
  • Thank you received: 17
Serge,

That is MAGNIFICENT  

Love what you are doing, the guards look great
Just wait for me at the next corner !!!!
The administrator has disabled public write access.

Here We Go Again! 31 Oct 2016 08:26 #18937

  • Evo
  • Evo's Avatar
Your Sherpa coming together very nicely Serge.  I do remember going through the same process with my Bulty with the rear guard extension. The airbox being fibreglass needs protection from debris kicked up by the rear wheel.  
The administrator has disabled public write access.
Time to create page: 0.204 seconds